![]()
Search Wild Foods Home Garden & Nature's Restaurant Websites:
Maple Syrup At Home - A How-To Picture Article
By: David Mills
Part 2 - Processing the Sap.
(For Part 1 - Getting the sap, go here.)
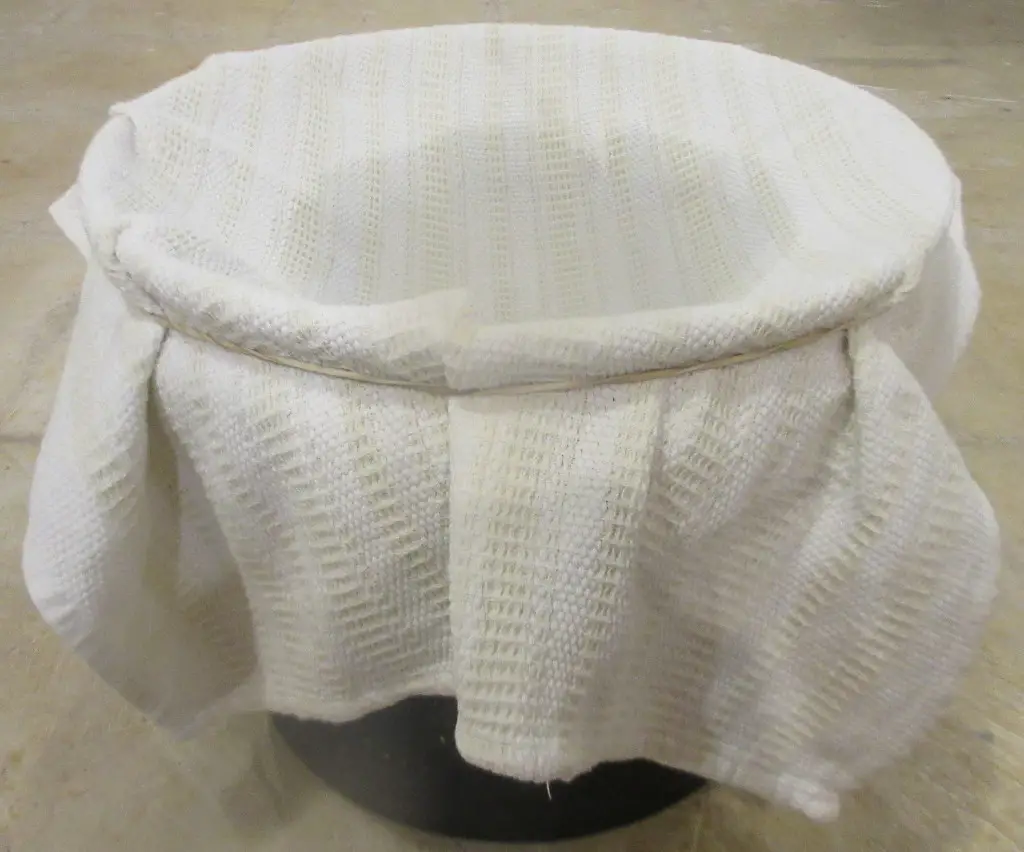
Once you have collected the sap in pails, you need to filter it before you can cook it down to syrup. All sorts of bits and bugs get into the sap, and these need to be taken off. You can use a proper Maple sap filter which looks like a giant cone shaped coffee filter, a very tight weave seive, or a very clean tea towel. Over the years, the tea towel has become my favourite way of filtering. Seems to work as well as the others, is easy and costs nothing. Use a tea towel that is a tight weave, has no holes (hold up to the light) and rinse it out a few times as you want to make sure there is zero laundry detergent and fabric softener left in the tea towel. After that just put it over the pot you are going to use, or better yet another bucket that is clean and sterilized with 10% bleach and well rinsed. Hold the tea towel in place with a large elastic band, or if you don't have one, another person holding the corners of the tea towel. Pour the sap over slowly, then remove the tea towel and pour the sap into the pot you are going to use to boil it down.
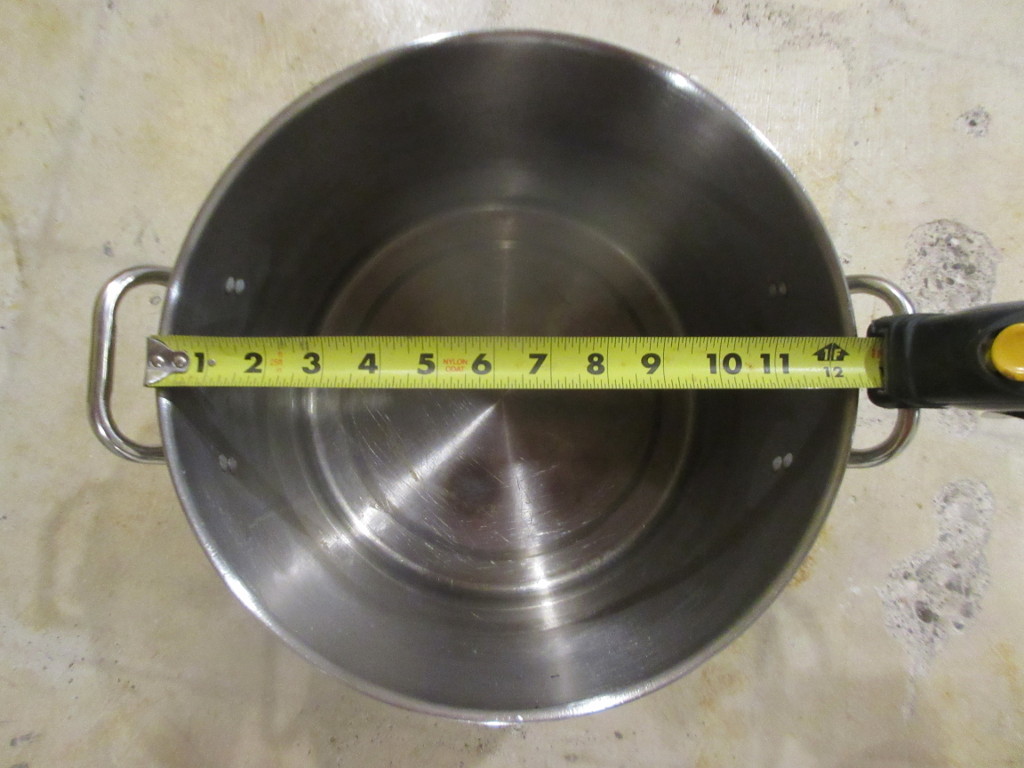
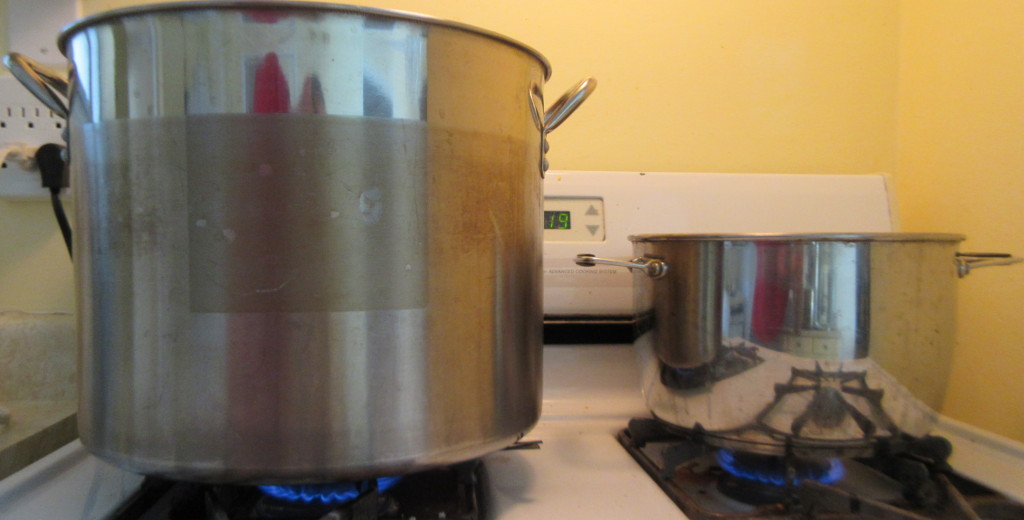
Use the biggest stainless steel pot you have - do not use aluminum. I use this huge canning pot I got at the local hardware store. This pot, though large, has a very thin, plain bottom.
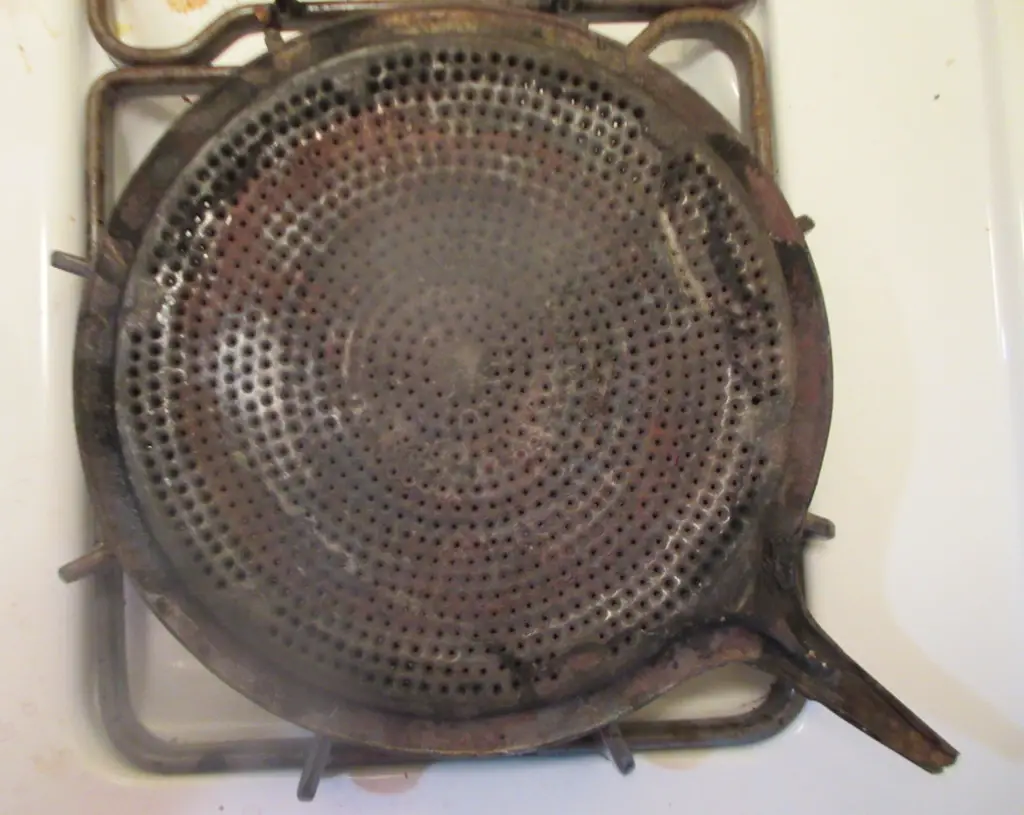
One thing I find that helps a lot is a heat diffuser. Again, can be found at most cooking and hardware stores, costs very little and is usefull for a lot of applications. I find it helps with both gas and electric stoves. If you don't use one, you have to use lower heat and stir a lot to prevent burning, especially after the sap has been cooked down a fair bit.
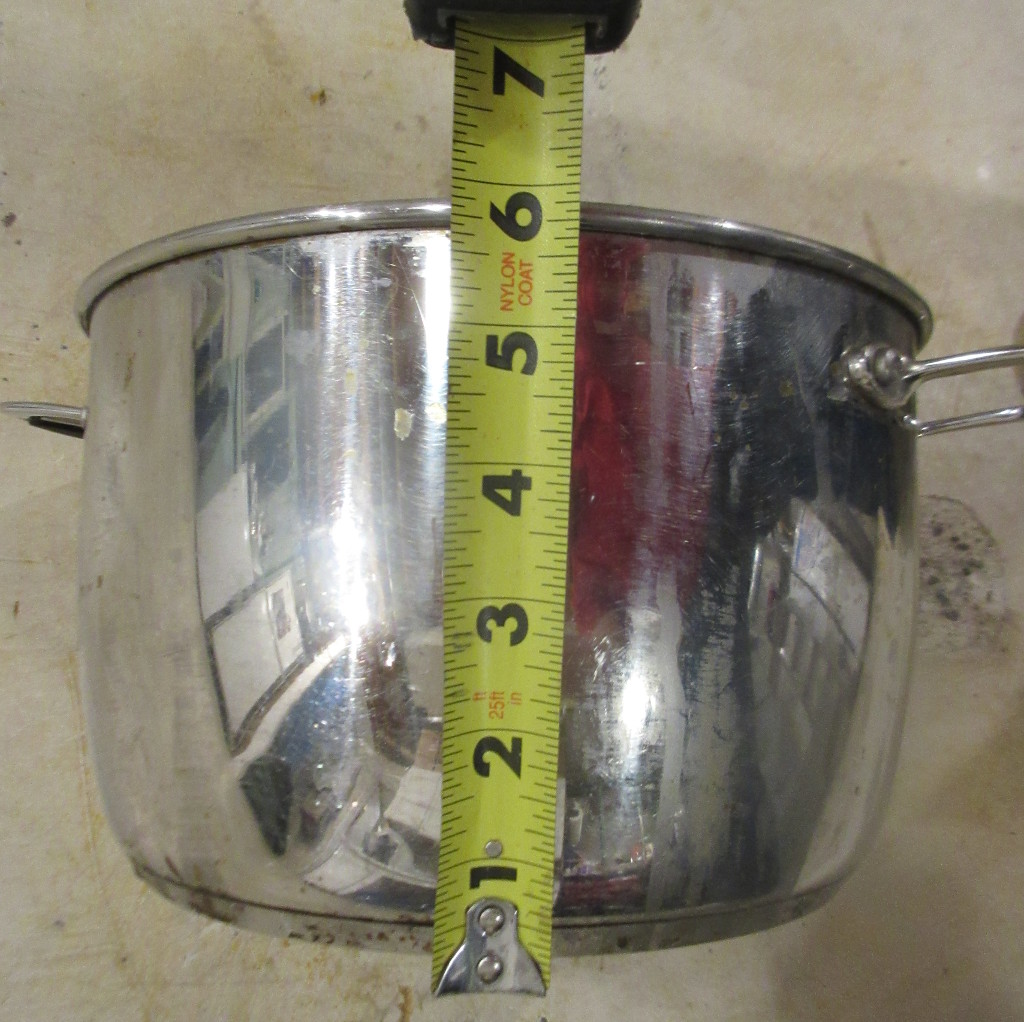
After you have boiled down the sap quite a bit, and it is getting thicker, I suggest transfering to a smaller pot with a built in heat diffusing bottom. Keep using the stovetop diffuser shown in the previous picture. The more diffusing, the less likely you will burn the syrup. It can be tricky near the end when the syrup is almost ready. It can suddenly burn and ruin a lot of work. Notice the thick, added on bottom on this pot - it is a very good pot for the last bit of cooking down.
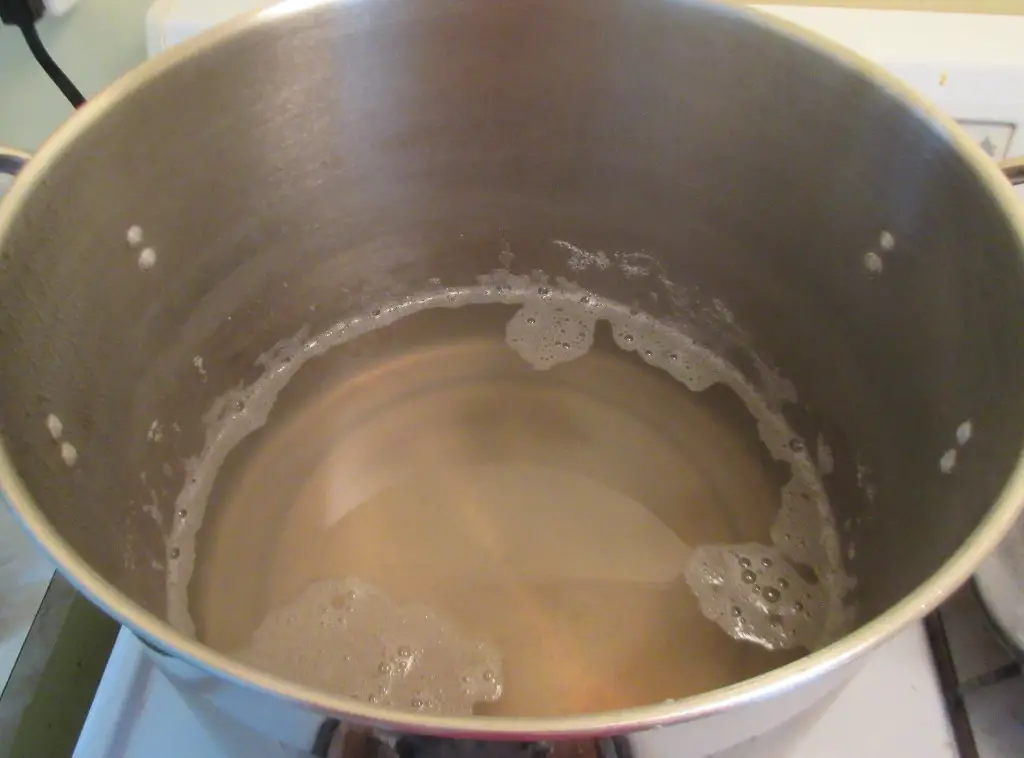
After it has been simmering for a while, it will start to change color from a very lightly tinted yellowish to a darker color. This is about the stage I transfer to a smaller pot with a thick, heat diffusing bottom. When watery sap, it is unlikely to burn on the bottom in the thin bottomed pot, but once it gets more syrup like, it will burn easily on a thin bottomed pot.
If there is a good amount of sap being produced, I tend to use both pots at the same time. When the sap in the big pot has boiled down quite a bit, I pour it into the smaller pot and add fresh sap from the buckets into the bigger pot.
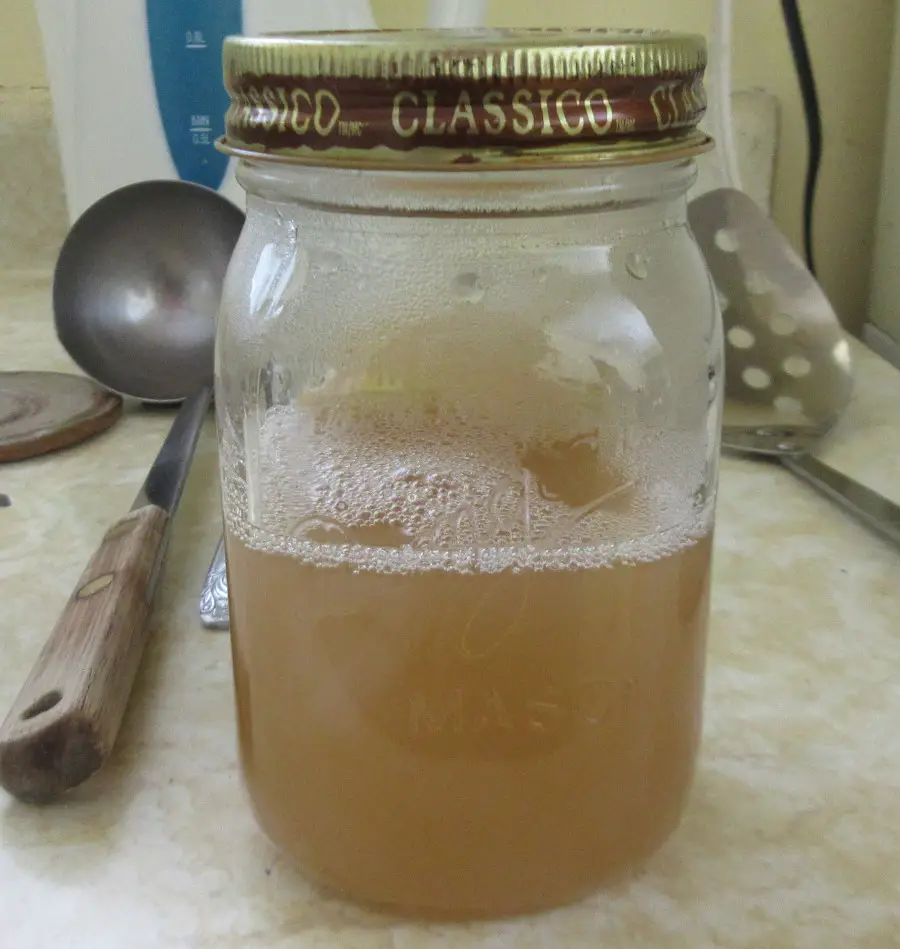
Just poured from the small pot into the jar. Notice it is still cloudy here - the minerals have not settled to the bottom yet. When they do in a day or so, the syrup will be clear with the amber color and the minerals will be on the bottom. By the way, this is Silver Maple syrup, not Sugar Maple syrup. The color you see here is what you should expect for Silver Maple syrup. Though both are good, I actually by far prefer the Silver Maple syrup. I've read that in Europe it is a very expensive specialty food that costs much more than the far more common Sugar Maple syrup. It does take about twice as much sap to make the same amount of syrup when using Silver Maples, so keep that in mind.
Notes:
It can take quite a while to cook down the sap, especially if you are using Silver Maple sap. If you are using Sugar Maple sap, you should get about 1 oz of syrup for each 20 oz of sap - a 20:1 ratio of sap to syrup. With Silver Maple sap, it is about a 40:1 ratio, so the boiling down can take longer.
When near the end, keep the heat fairly low, stir a lot, and babysit it. It can go from seeming very thin to burned and ruined so fast it will shock you. When you are getting close, take a tiny amount out with a spoon and let cool for a few seconds before judging how thick it is - when hot it seems thinner than it will be when cool. If you end up taking it off the heat too early, and you find it is too thin after cooling down - no problem - you can heat it up again and steam off a bit more. But remember, you cannot go back if you cook it too much by adding water - the taste will have changed.
I find keeping in a mason jar or old maple syrup bottle works best, and I always keep it in the fridge.
You will find that after a day or two, there is a layer of white stuff on the bottom of the syrup. It is harmless minerals from the sap. You can either slowly pour off the syrup leaving the minerals on the bottom, or just leave it - it doesn't matter.
Share:


![]()
Wild Foods Home Garden Logo Copyright © 2017 David G. Mills.
Text Copyright © 2014, 2015, 2016, 2017, 2018 David G. Mills.
All Photographs Copyright © 2014, 2015, 2016, 2017, 2018 David G. Mills except where noted.*
All Drawings Copyright © 2014, 2015, 2016, 2017, 2018 David G. Mills except where noted.
All Rights Reserved.
This may not be reproduced in any form, in whole or in part, without written permission from the author.