The Cedar Log Cabin
The Story of Living In & Restoring a Settler's Log Cabin
Fixing the Property
Regrading the Property
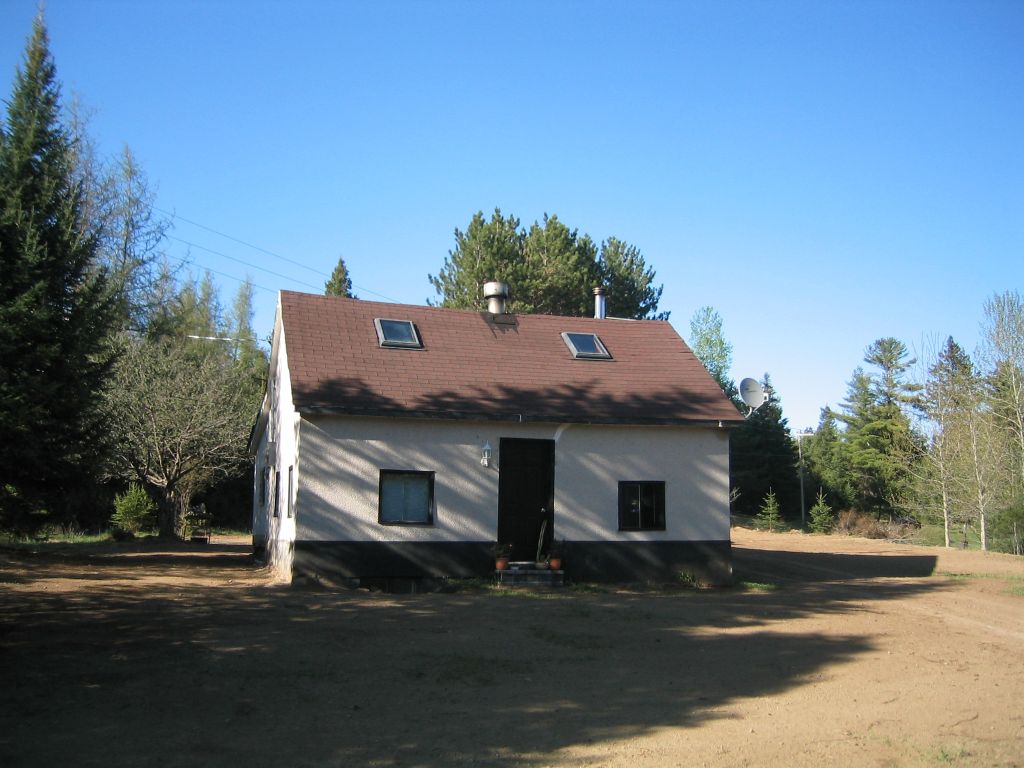
It was basically a nice property, it had a cliff face at the far end, a small red pine plantation on it, a great area for a big garden, and best of all, the large open area in the middle was slightly tilted south. The size was good at 1.3 acres.
However, the grade of the property was a disaster. For one thing, whoever had put the foundation in, did not make it high enough. Some of the lower logs on the west side of the cabin were significantly lower than the grade of the land. Raising the cabin was not going to be an option, and since there were huge dirt piles, uneven ground around the cabin, and a big trench at the back of the cabin, it was decided that the simplest solution was to re-grade the land. It was started as soon as the ground thawed in April of 2007.
Go back here to this page and look at how bad the yard was. The cost of hiring a crew with equipment was more than we wanted to spend since the financial hit we took in the fall of 2006. With all that in mind, we rented a “Bobcat” or what is generically known as a skid steer. It was delivered, and the job began.
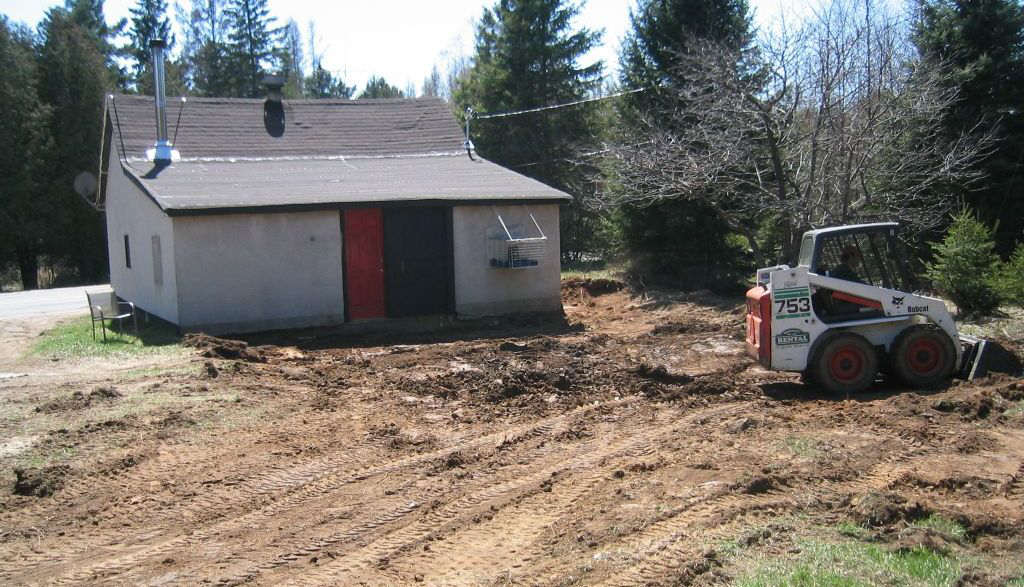
First day of me in the Bobcat regrading the yard – it took 4 full days.
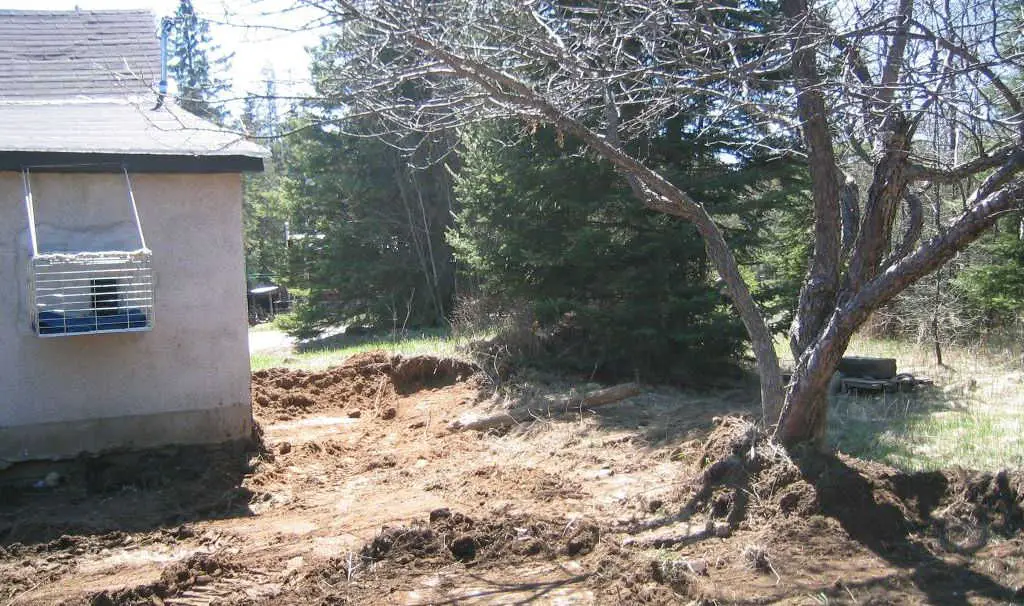
I had never used a Bobcat before, but managed to not hit the cabin or hurt the apple tree.
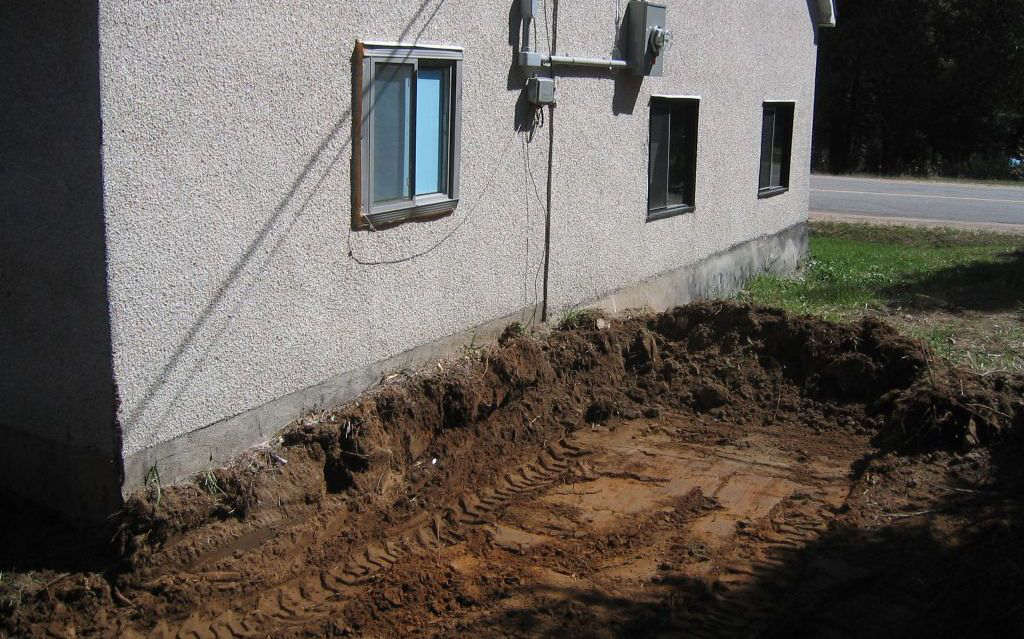
I had to go down about 16” in places before the ground was below the top of the foundation.
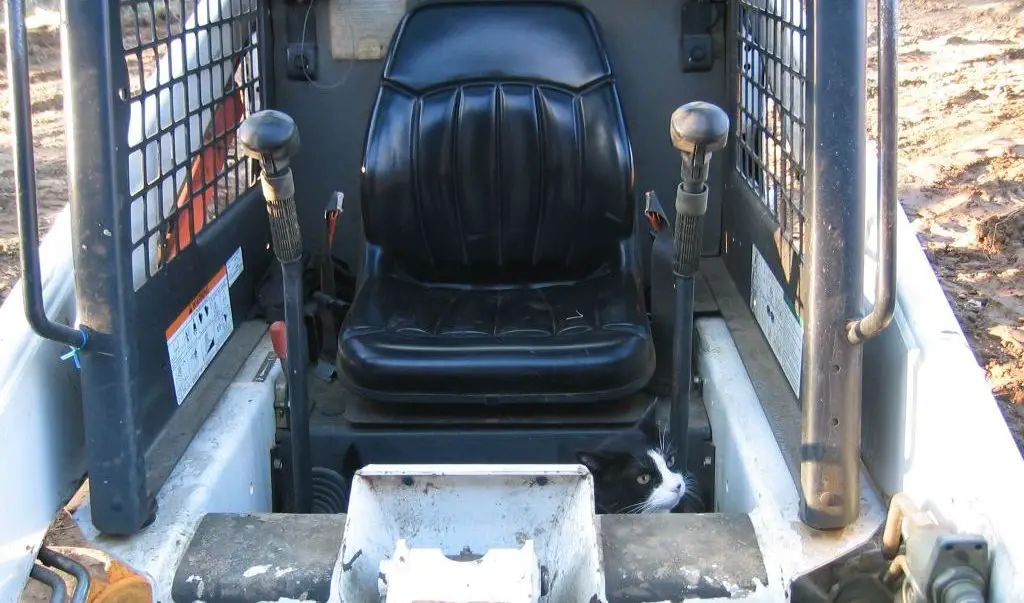
The foreman Cornelius checking things out at the end of the first day.
After four full days, it was finally done and the grass seed spread.
Cars and Garbage in the Yard
The next big problem with the yard was old cars, piles of junk and old garbage dumps. I was told by the locals that in the “old days” you didn't have garbage collection in the area, and no local dumps or car recyclers, so you just used your yard. And use the yard they did. When I finished, there had been about 15-20 pickup truck loads of yard garbage to the dump and auto recyclers.
At first it didn't look like that much, but as you were working away in an area you would find more and more that was hidden by years of vegetation growing over it, leaving what looked like green mounds all over the place.
Many of these mounds had car parts, some were old fence posts and barbed wire fencing, some were just house garbage with copious amounts of broken glass. It ended up that I never really got it all, but most was gone in about 3 years.
There were four pickup and trailer loads to the auto recyclers alone. There were at least three different cars in pieces in the yard.
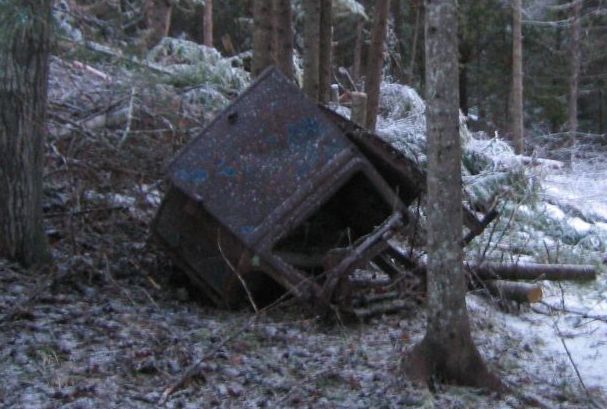
Part of an old car at bottom of the cliff face.
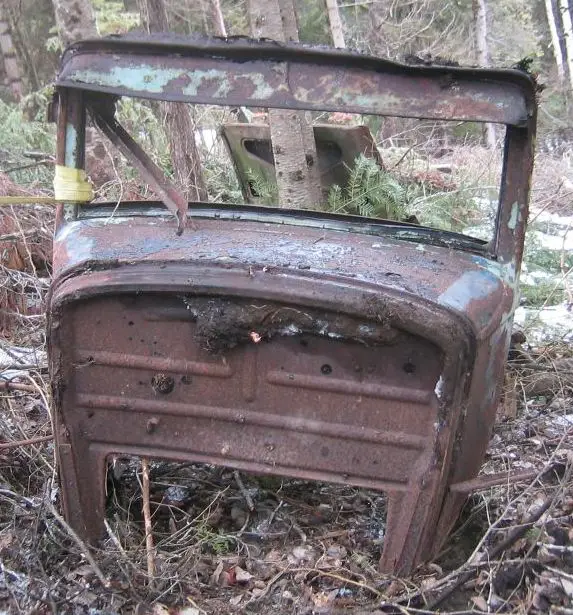
Although some of the car scraps were interesting, most was just rusty junk.
The Giant White Pine
An issue which turned out to be more work than I could have imagined, was an old giant white pine that had been broken off about 25 feet off the ground by a bad storm with tornadoes that went though on August 02, 2006. It was quite sad really. That big white pine had been a beautiful tree when I looked at the property on the scouting trip in April, 2006, but all in all, we were lucky as there were areas all around us that were hit far worse. Still, it was a disappointment.
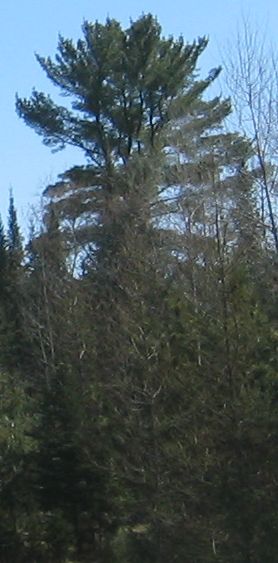
This is the only picture I have of the white pine before the storm broke it off. Even though it towers over the other trees in this picture, it is even more impressive when you realize it is at the bottom of the cliff, while the other trees are on the top of the cliff. It was majestic. Taken April, 2006.
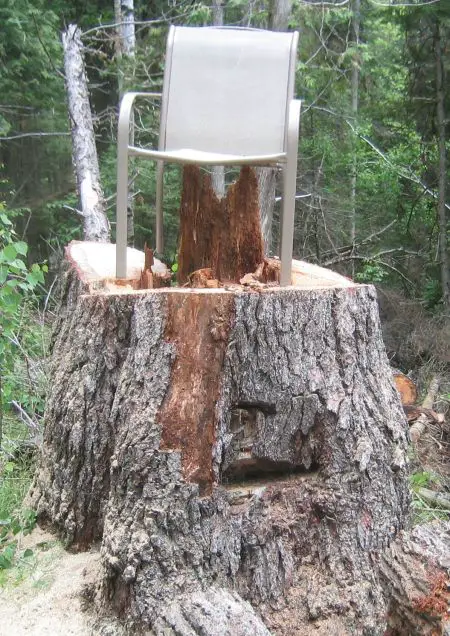
The stump of the huge white pine.
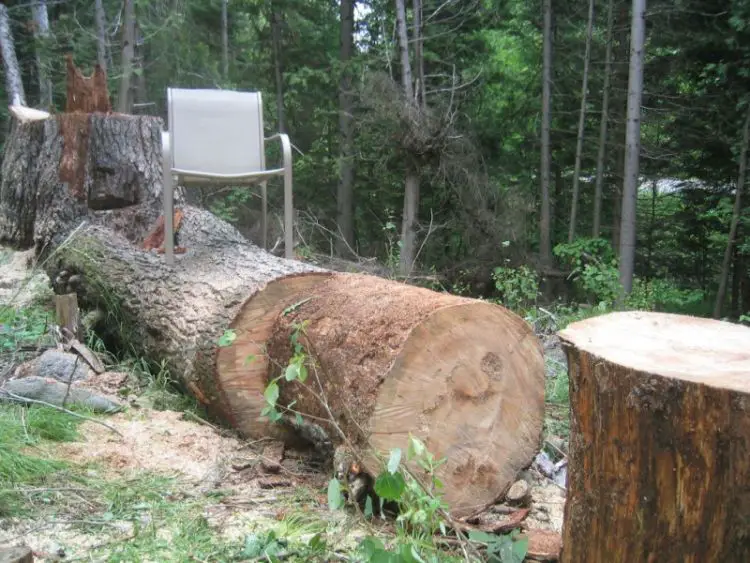
The trunk after I felled it.
When all was said and done, it took me almost 3 summers to chip away at dealing with that tree. When it fell, it took out about a dozen smaller spruce and fir trees with it, making a tangled mess on the side of a steep hill.
I had cut down many small trees before, but I was nervous with this one. I started off with a little chainsaw I had living in the city for yard trees, however I ended up buying a used loggers chainsaw – a huge 85cc, 6.4 horsepower beast that made the job a lot easier. That chainsaw was used for making lumber in a chainsaw mill as well. When things seemed to be getting to me, going out and cutting wood makes me feel better. There is something about holding a 6.4 horsepower screaming beast in your hands - one that could slice you into bits without even slowing down - that focuses the mind to the here and now.
The Garden
Putting in the garden was also a bigger job than first hoped. First, there were trees that had to be trimmed and cleared. By the time all the trees were removed and trimmed, there was a pile the size of the cabin about four feet deep. Getting rid of that turned into quite a job in itself. I built a very large fireplace out of scrap roofing metal that was in the yard, and burned away the pile over the course of a year.
Then, the Bracken fern that was established in the spot were the garden was to be put had to be dug out. Easier said than done. They have fairly deep, strong, black horizontal running roots that resist being taken out. If you leave even a scrap they regenerate. These plants were an ongoing problem even after the garden was in. Literally overnight, a three inch high bracken would appear in the garden.
After that, the garbage that had been thrown in the area had to be cleaned out. It took two full seasons to get the area ready before I could plant the garden. Broken glass was always being uncovered in the garden for the entire time I lived there.
The soil was worth it however. It was marble dust, sand and nice black organic matter. Everything grew like crazy in that soil. The soil was soft and loamy, almost fluffy. The bedrock – marble – was 32 inches down, so I had lots of soil to work with. Being marble, it was alkaline, so even though the area was surrounded by coniferous trees, the soil was very good for almost anything except Blueberries. It also tilted a little to the south, giving a longer season.
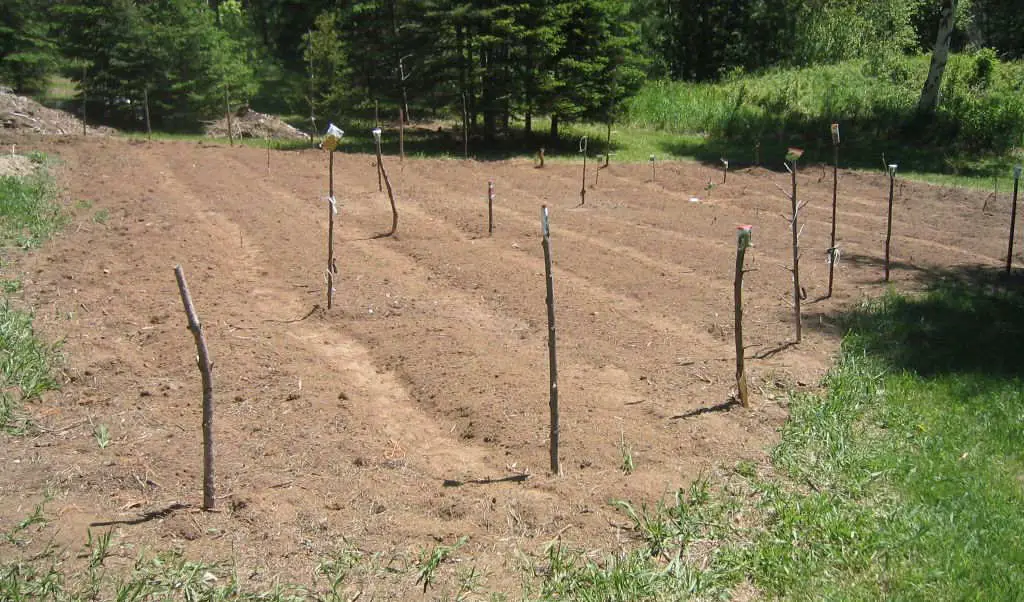
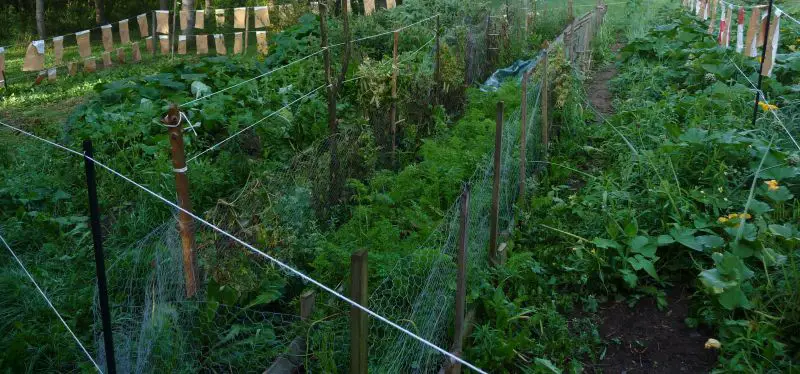
The garden after being planted for the first time. It was a real job getting the area ready, however it was worth it. The amount of great food that came from this garden was very welcome. I had gardens before – little ones in back yards - but this was the first time I had a serious garden. My habit was to come out each morning as soon as the light broke, water and weed. It took about an hour per day 5 days a week.
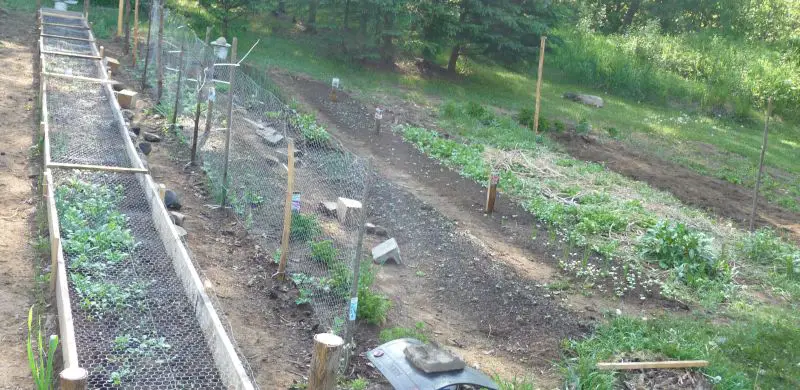
It was always nice to see the garden coming up. I had to employ chicken wired boxes for some plants to stop the rabbits and deer from eating the freshly sprouted seedlings. Photograph by Pamela J. Walsh.
The amount of food that came from this garden was incredible. I eat a lot of plants others call weeds, like dandelions, so they were welcome when the showed up on their own. Photograph by Pamela J. Walsh.

I also made this large container garden. After I planted the seeds, I put the chicken wire all around, to keep out the critters, which came off once things were established. This is later in the season. The plant on the left hanging down is celery gone to seed. I grew my own celery, and left some to go to seed for seasoning and next year's planting. Photograph by Pamela J. Walsh.
Front Steps and Walkway
When we got the cabin, there were some concrete blocks sitting on ground for front steps, and no walkway at all. When it rained, you had to walk through mud to get to the house. I wanted to put something in that was fitting for a settler's log cabin, made from stone found and quarried in the yard. I also wanted it to look as old as the cabin very quickly. There is something about modern touches to old places that doesn't work for me. With all this in mind, here is what I did:
The first thing was to lay out the walk and dig a trench. I thought this would be easy, as the area is sandy. I found out the hard way, it was not. Later, Bill across the road told me that this was where all the waste material was dumped after the new block foundation was put in. The next step was to bring over, and lay out the stones.
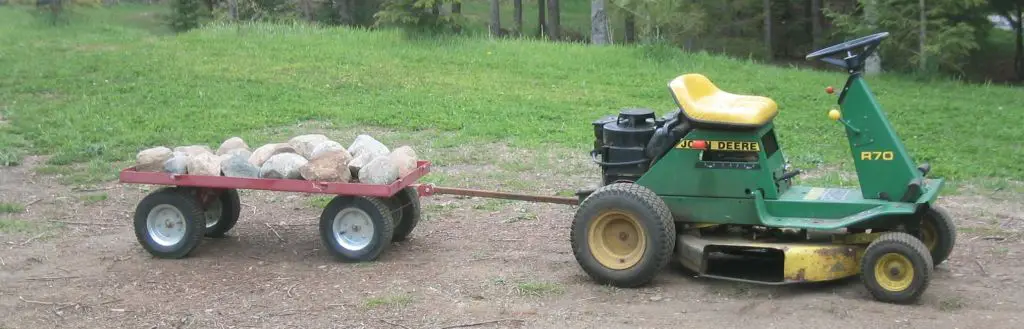
The rocks were on the very far side of the yard, at the bottom of the cliff. I cut a trail, from where the rocks were up to the yard, so I could move the rocks with my mower and trailer set up. Cutting the trail was hard work, but I envisioned it being part of walking trail when the rock moving process was done. Moving the rocks this way was fun and was a nice break from heavy lifting.
I toyed with the idea of filling the gaps between the stones with cement, and later regretted not going with that idea. Thinking it would make it look rustic, I back filled the area with the best of the soil I had dug out, visualizing grass growing between the stones.
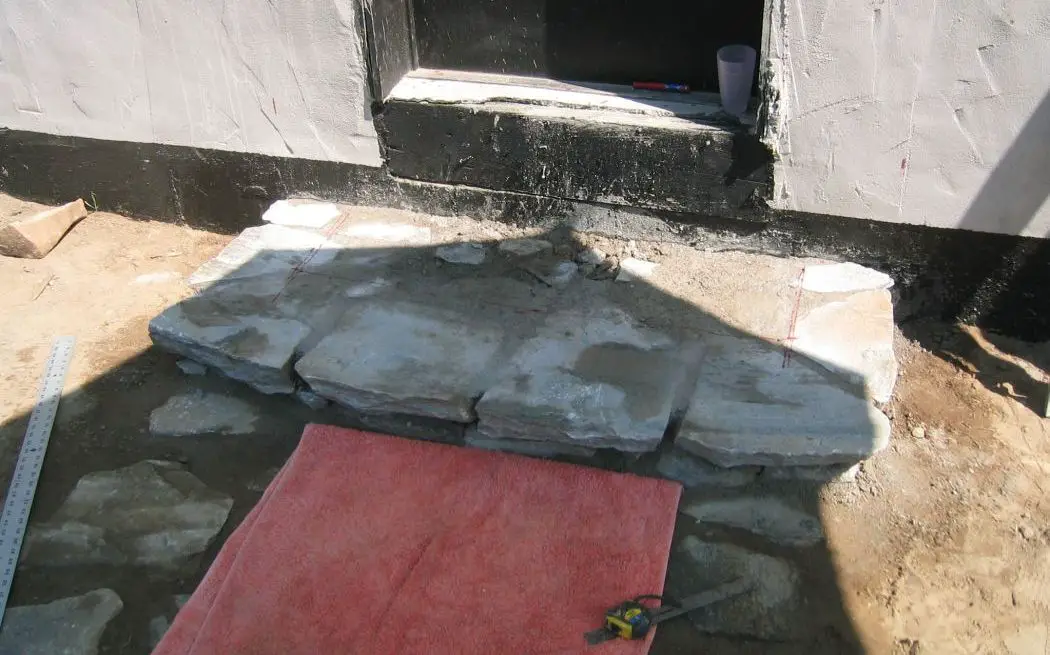
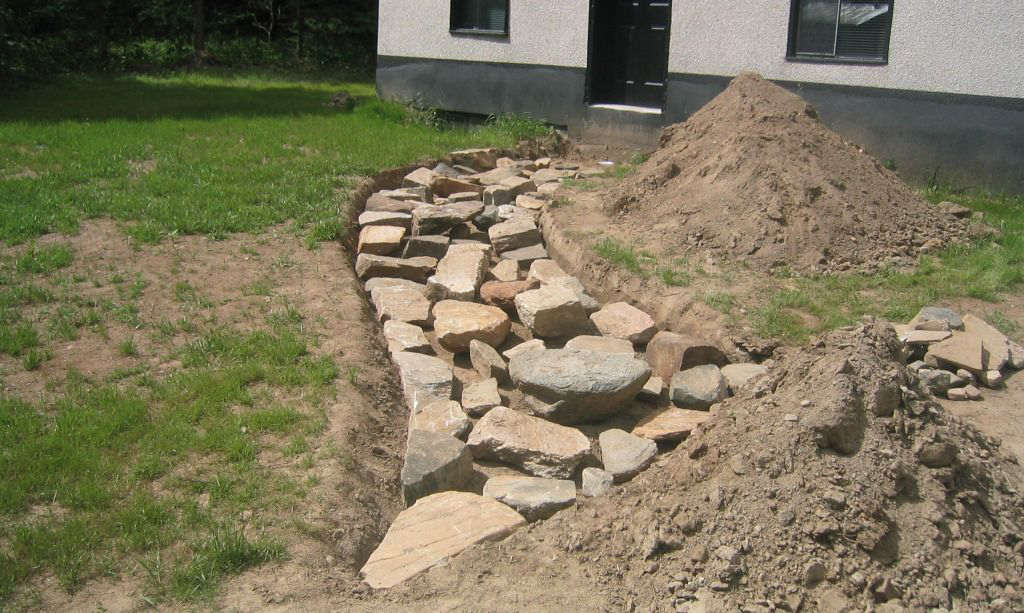
Next was the steps. I dug a three foot hole, back filled it with the small rocks, broken cement and gravel that I uncovered digging the path for the walk. Then I tamped it down and began making steps. I quarried the rock for the steps from the yard. There was a spot where the marble stuck up past the earth. It was fairly easy to quarry, and came off in flat sections. All I did was find the grain, judge the thickness I wanted, put a wide, flat chisel at that point, and hammer away with a hand size, two pound sledge hammer. This is the bottom step ready for the second and final step.
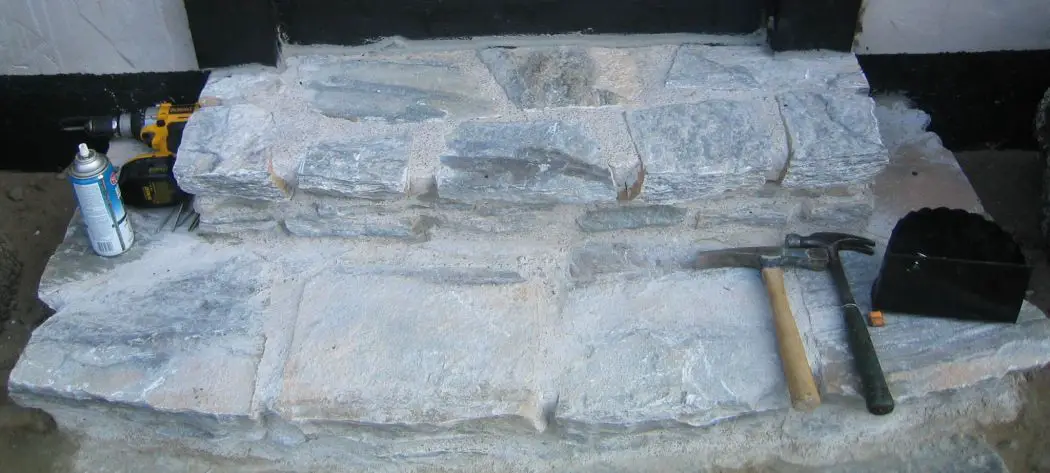
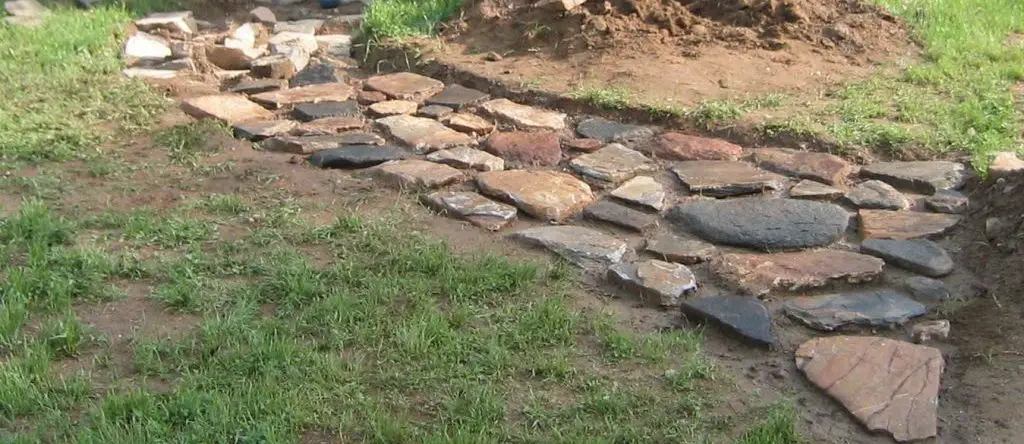
The second level of the steps in. At first, I was disappointed with the results, but over time I came to be very happy with them. I worked the pieces into their final shapes with the brick hammer by chipping away at the edges at little bit at a time. It is the wooden handled hammer. After four seasons, there was not a single crack or any movement - thankfully. One nice bonus, there were flecks of copper and silver coloured metals in the marble, making it glisten in the sun.
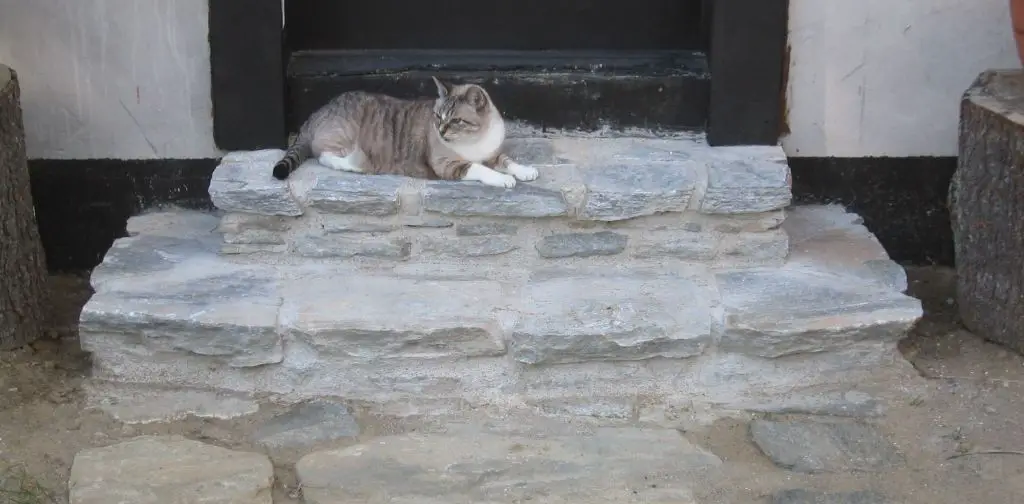
The steps ready to use. After the screen door was put in, the threshold rebuilt, and some greenery around the cabin, the steps did look old which was the goal. The amount of work it took to get to this was a bit much, but again, I wanted to do it the pioneer way right from scratch, with materials that came from the land. Working with stone is enjoyable work as well.
Shed on Stilts
Very quickly I learned the ground was almost always damp, and anything in the yard either rotted or rusted surprisingly fast. The basement of the cabin was very damp as well. The cabin was too small to keep the tools in, so I had to keep them outside somewhere. The only idea I could come up with was a shed built on stilts. I thought, if it is off the ground, it would stay drier inside. It was made from scrap lumber. It was not a thing of beauty, but it seemed to do the trick
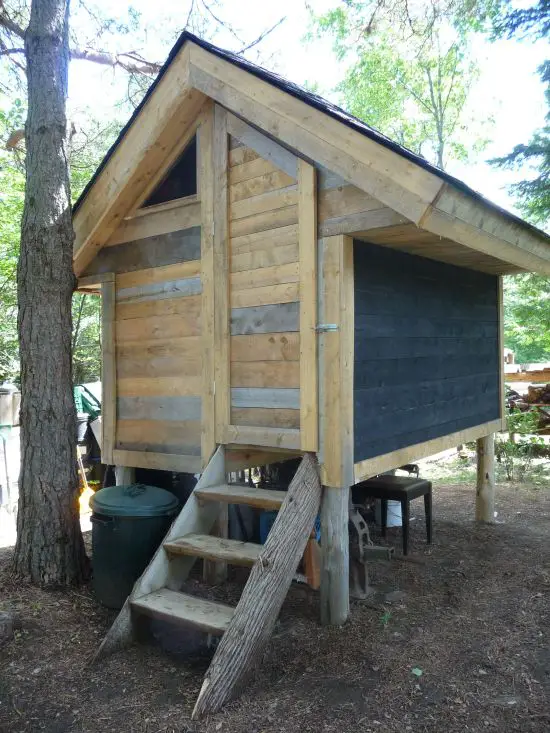
Not much to say about the shed, other than the sides of the stairs are made with the top and bottom slabs from milling lumber from a very large storm fallen white cedar on the side of a steep hill. The little triangle in the upper left is a screened opening for air to circulate. The other end was vented as well.
Share:


Why does this site have ads?
Originally the content in this site was a book that was sold through Amazon worldwide. However, I wanted this story available to everyone free of charge, so I made this website. The ads on the site help cover the cost of maintaining the site and keeping it available.
Google + profile
![]()
Wild Foods Home Garden Logo Copyright © 2017 David G. Mills.
Text Copyright © 2014, 2015, 2016, 2017, 2018 David G. Mills.
All Photographs Copyright © 2014, 2015, 2016, 2017, 2018 David G. Mills except where noted.*
All Drawings Copyright © 2014, 2015, 2016, 2017, 2018 David G. Mills except where noted.
All Rights Reserved.
This may not be reproduced in any form, in whole or in part, without written permission from the author.