The Cedar Log Cabin
The Story of Living In & Restoring a Settler's Log Cabin
An Unusual Exterior
Dreams of a Log Exterior
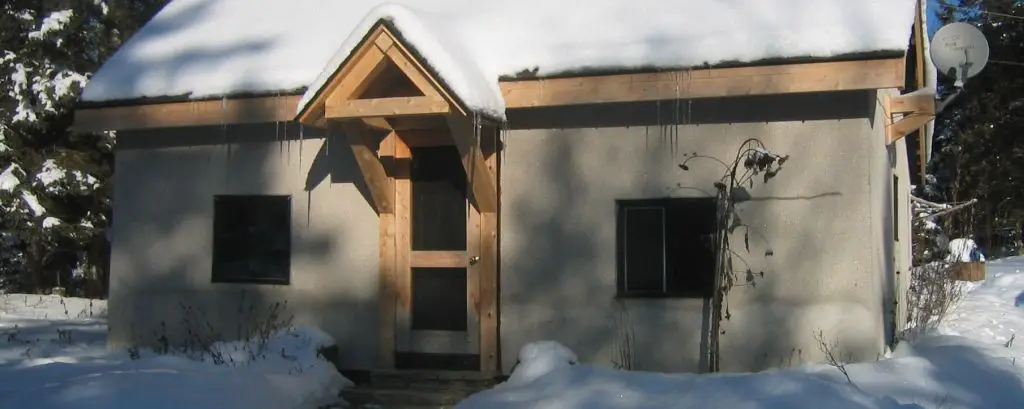
The exterior of the cabin is cement over metal lath. Embedded into the outside surface of the cement, is crushed stone. The metal lath is nailed to vertical lumber that is nailed to the logs.
At the beginning, I was hopeful that the exterior cement surface could be removed, the logs re-chinked, and it would be a beautiful log cabin from the outside as well as the inside. I knew that the cedar logs would provide good insulation, as long as there was insulation between the exterior and interior chinking.
However, once I took off some cement where the sill logs were rotten to replace them, I ran headlong into a sad fact. When the vertical lumber was nailed to the logs for the metal lath, they had crudely chopped out channels in the logs where the logs were uneven. It was brutally done, with no regard for the logs. There was no way to repair this. If a section or two had been chopped out, it could have passed, but there were vertical chopped out sections every 12 to 14 inches, and it was a mess.
Another problem with this exterior, is that it left a gap that was between one and four inches between the logs and the metal lath. There was no insulation in that gap, and I guess it was for the better, as anything but foam would have held moisture, and things could have been worse.
The problem with the gaps, was that it was a home for wildlife – especially milk snakes, mice and ants. There took place a major battle between me and these snakes, mice and ants. I didn't want to hurt them, but I did want them out from the walls, because they would find their way into the cabin.
On the west side of the cabin where the grade was higher than the top of the foundation, tree roots from the nearby spruce were growing up into the gap.
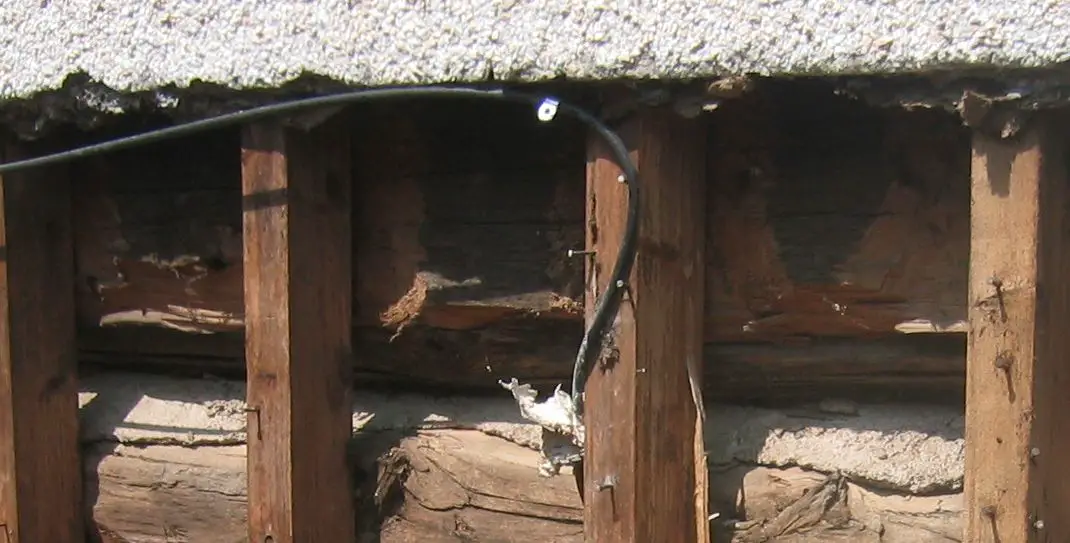
Logs were chopped even for the nailing of the vertical lumber that held the metal lath. It was a shame, as other than the sill logs, the logs were in great shape and had a nice weathered grey colour.
Rot
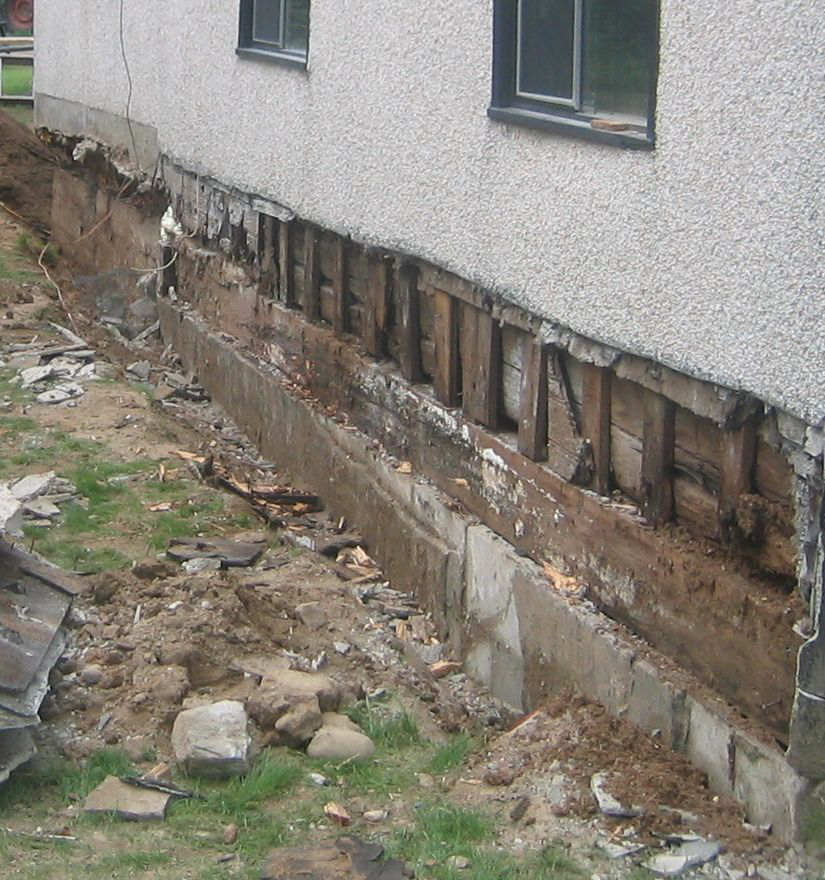
Before the yard was regraded, the ground was about 16 inches higher at this side of the cabin (West), so all but the top few inches of what is exposed after removing the cement had been below grade. I decided to give up on having it look like a log cabin on the outside. The plan now, was just to replace the rotten wood with pressure treated and try to restore the outside the way it was for now, then parge over the entire surface at some time and paint. I would take a section about four feet across and chop and rip out the rotten wood.
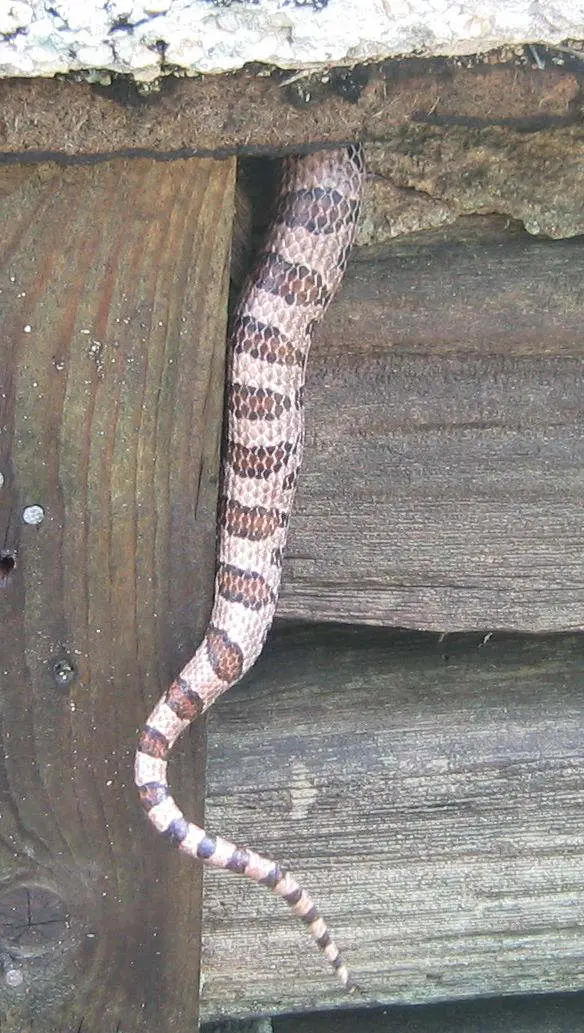
Yet another milk snake in the wall.
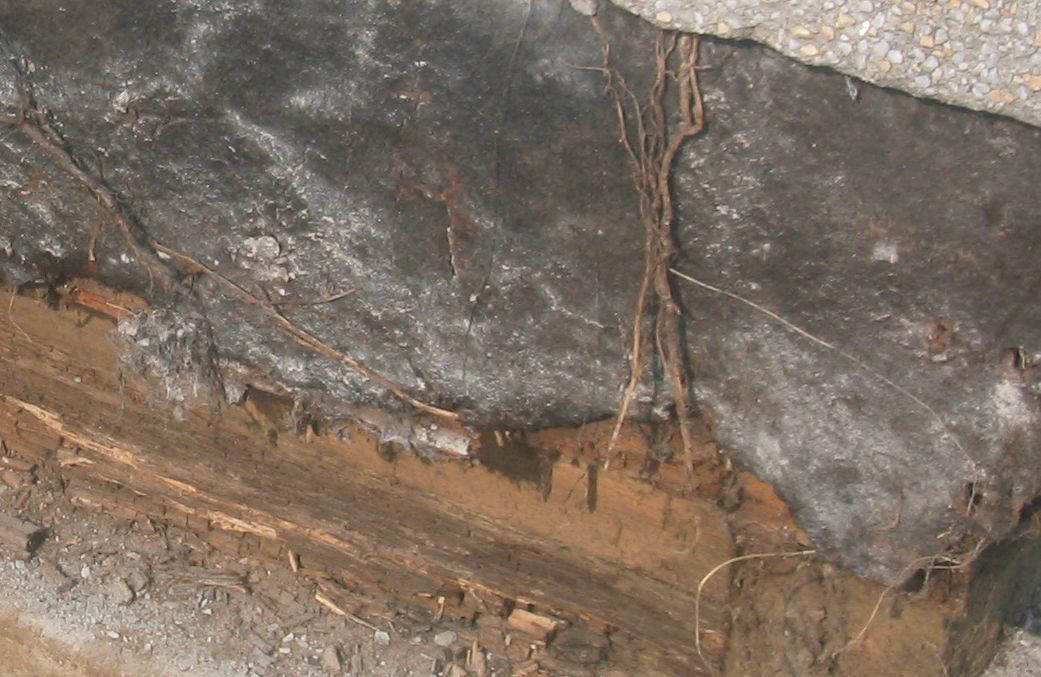
Roots from nearby spruce trees growing into the wall. This section had been below grade before the yard was regraded.
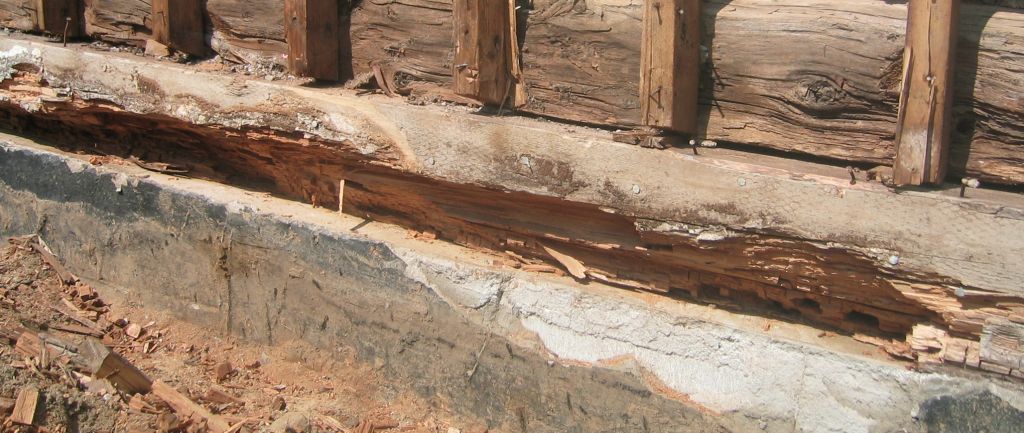
The sill logs were completely rotted and had to be removed.
Replacing Sill Logs
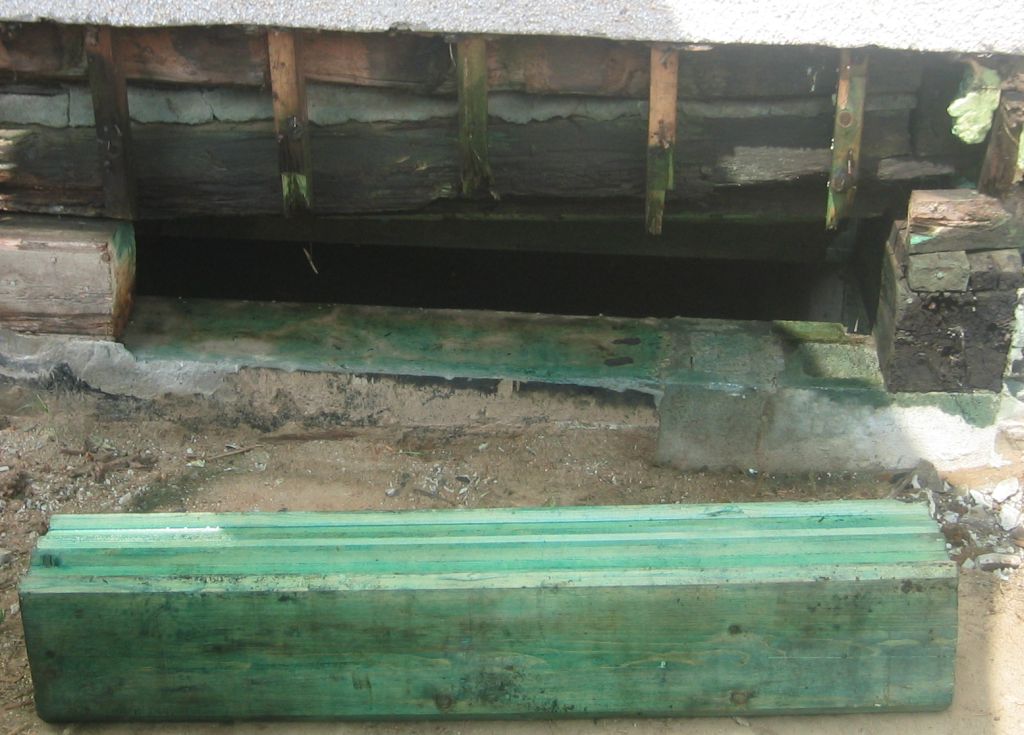
Once all the rotten wood was cleaned out, I coated all the remaining wood with green wood preservative, then rammed in a new section of treated log into the gap. After, all gaps were filled with spray foam insulation.
New sill logs in place and gaps filled with foam insulation.
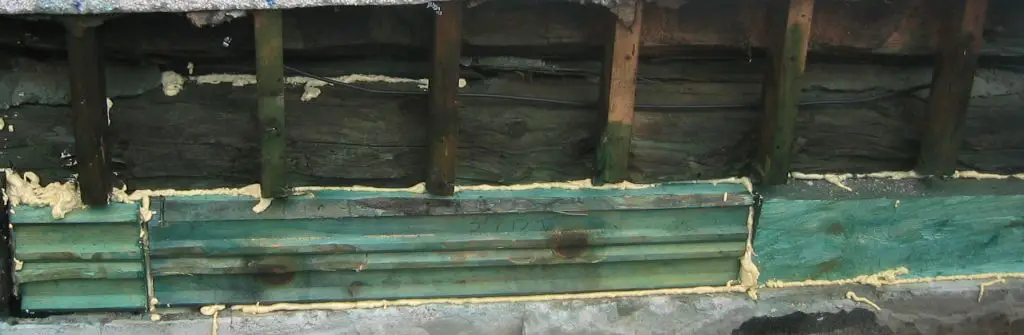
Insulating
Gaps between verticals were filled with foam board insulation.
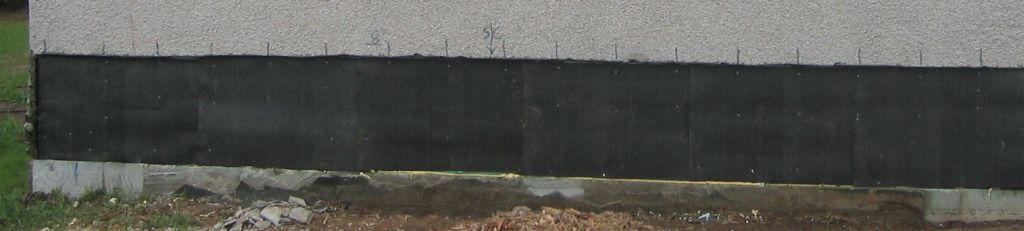
Tar paper was put over the whole area.
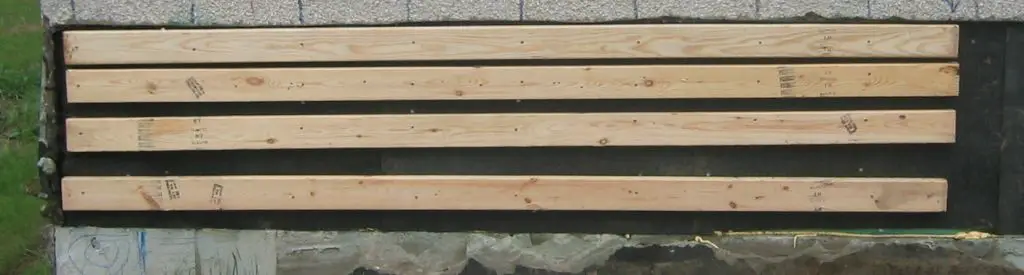
Temporary boards were screwed on the wall over tar paper, to hold it flat against the wall, while spray foam insulation was injected through holes. Because of the snakes and mice getting in the gaps in the walls, I decided to try and fill every possible gap there was, and at the same time insulating. I started from the bottom and worked up.
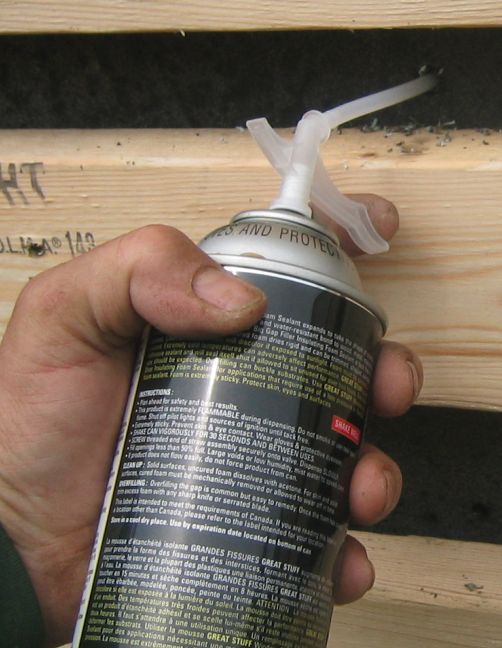
After the temporary 2X4's were screwed on to the wall, I drilled holes and filled with foam insulation.
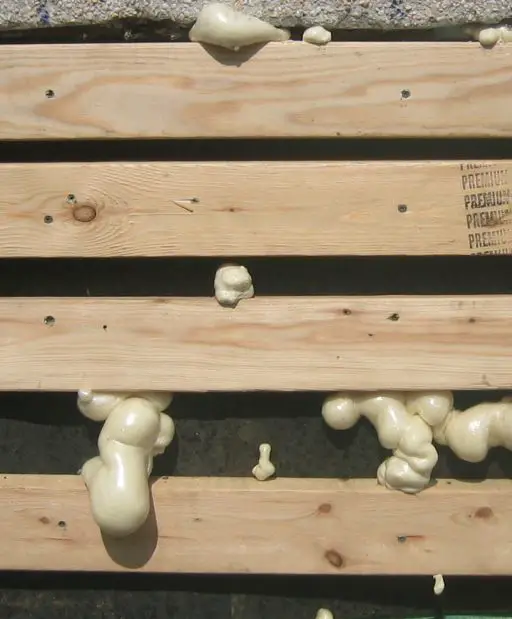
When it was curing, it expanded and hopefully filled all gaps.
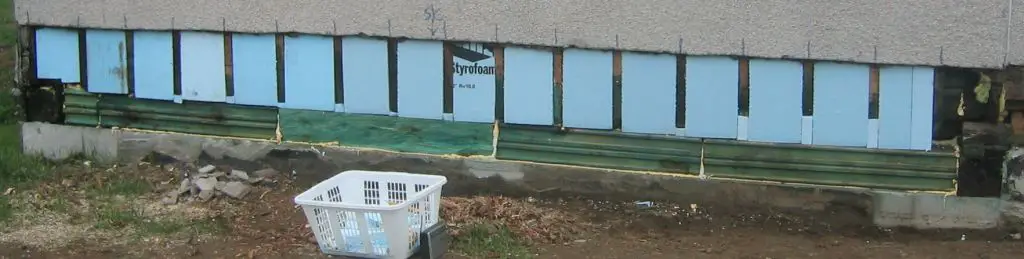
Re Cementing

After the foam set, the 2X4's were removed and cement board screwed to the wall, then parged over with cement.
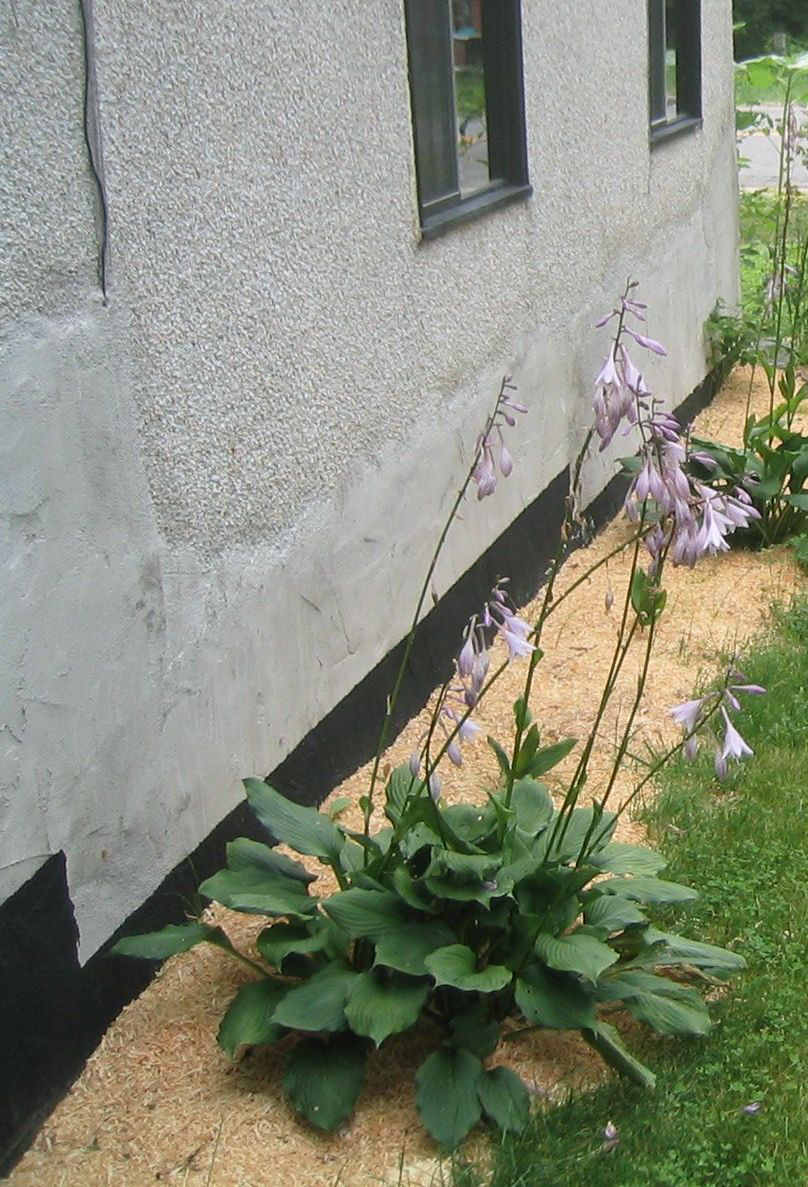
After the cement board was installed and the parging done, I coated what was to be exposed to the ground with foundation sealer, and back filled with sand. I intended to parge the entire exterior and paint in time, but the cabin was sold before I finished that job. This picture is the wall that had been below grade before the yard was regraded.
The entire circumference of the cabin exterior was completed. All the rot had been finally removed. You can see a line where the stone surfaced cement is above the work line, and the plain parging below.
Share:


Why does this site have ads?
Originally the content in this site was a book that was sold through Amazon worldwide. However, I wanted this story available to everyone free of charge, so I made this website. The ads on the site help cover the cost of maintaining the site and keeping it available.
Google + profile
![]()
Wild Foods Home Garden Logo Copyright © 2017 David G. Mills.
Text Copyright © 2014, 2015, 2016, 2017, 2018 David G. Mills.
All Photographs Copyright © 2014, 2015, 2016, 2017, 2018 David G. Mills except where noted.*
All Drawings Copyright © 2014, 2015, 2016, 2017, 2018 David G. Mills except where noted.
All Rights Reserved.
This may not be reproduced in any form, in whole or in part, without written permission from the author.